Onetrail
Set up XPR365 Onetrail
To be able to use the XPR365 Onetrail Connector, some settings need to be made.
To set up the XPR365 Onetrail Connector
- Choose the
 icon, enter Onetrail Setup, and then choose the related link.
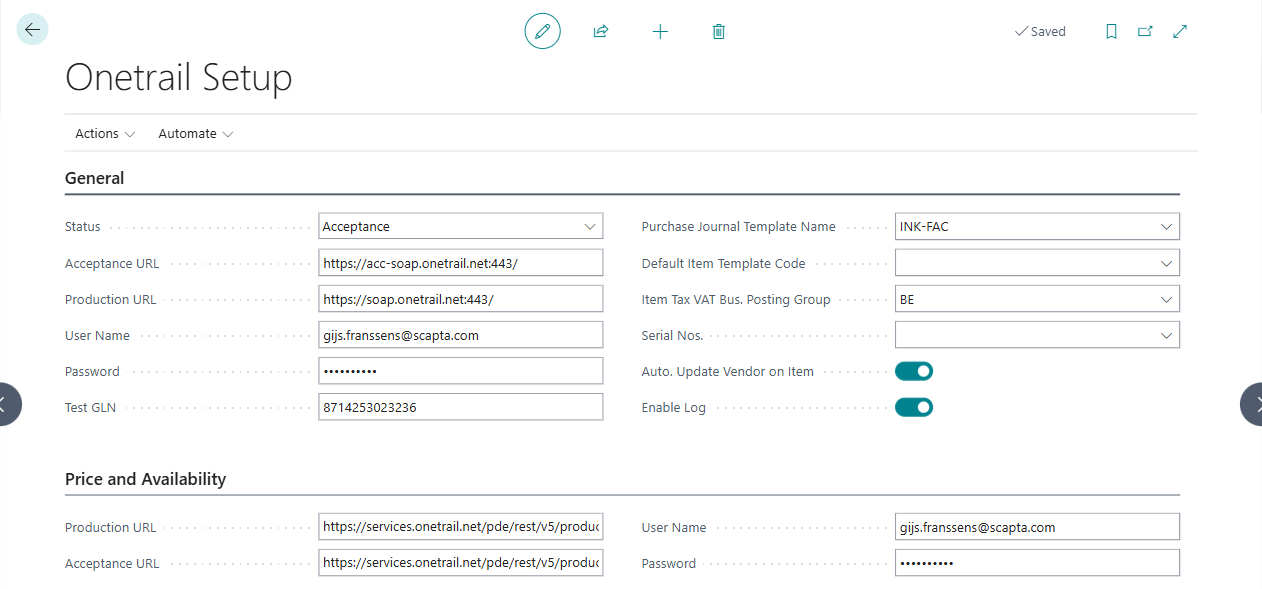
 Configure the fields on the General FastTab as described in the following table to be able to import and create items from Onetrail.
Field Description Status Select whether you want to connect to an acceptance or production environment. Acceptance URL Enter the URL of your Onetrail acceptance environment. Production URL Enter the URL of your Onetrail production environment. User Name Enter the username to connect to your Onetrail environment. Password Enter the password to connect to your Onetrail environment. Test GLN Enter your test GLN provided by Onetrail. Purchase Journal Template Name This purchase journal template is used for purchase orders sent to Onetrail. If this field is empty, the default purchase journal template will be used. Default Item Template Code Select the default item template code to be used when creating items. Item Tax VAT Bus. Posting Group Select the VAT Business Posting Group to be used for item taxes. Configure the fields on the Price and Availalbility FastTab as described in the following table to request real-time prices and stock from Onetrail.
Field Description Acceptance URL Enter the Onetrail URL of the acceptance environment to request real-time pricing and stock. Production URL Enter the Onetrail URL of the production environment to request real-time pricing and stock. User Name Enter the username. Password Enter the password.