Billit
Set up e-documents for sales/service
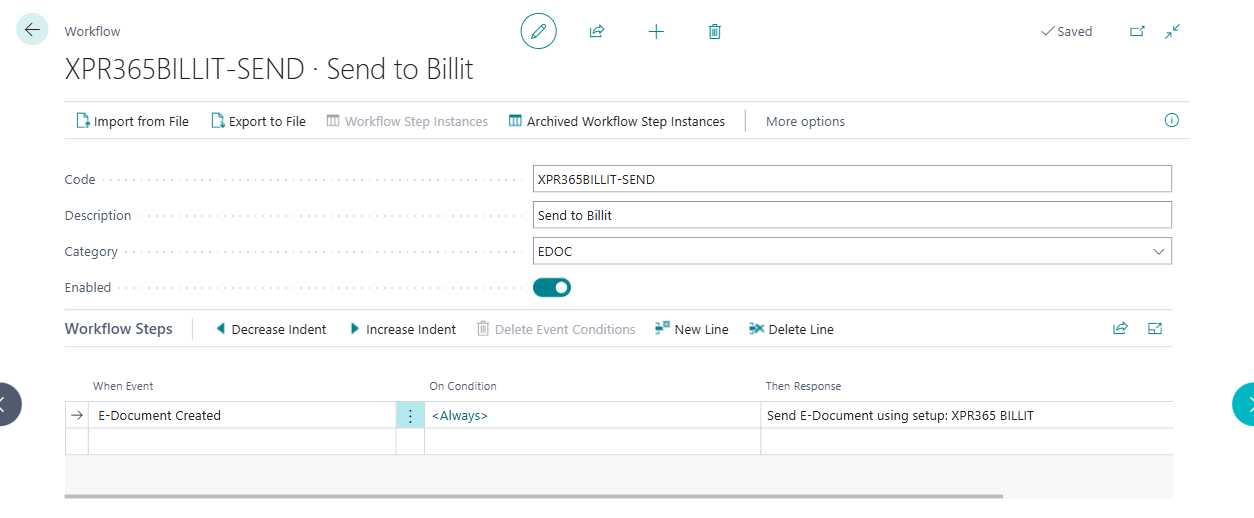
To set up the workflow
To set up a workflow for e-documents, follow these steps.
- Choose the
 icon, enter Workflows, and then choose the related link.
 - Open the Send E-Documents to one service workflow, and then disable the workflow.
- Open the Send to Billit workflow to send documents to Billit.
- In the Then Response field, select the Send E-Document using Setup: ... and select XPR365 BILLIT in the E-document Service field.
- Enable the workflow.
Note
To be able to enable the Billit workflows, disable the Send E-Documents to one service workflow.
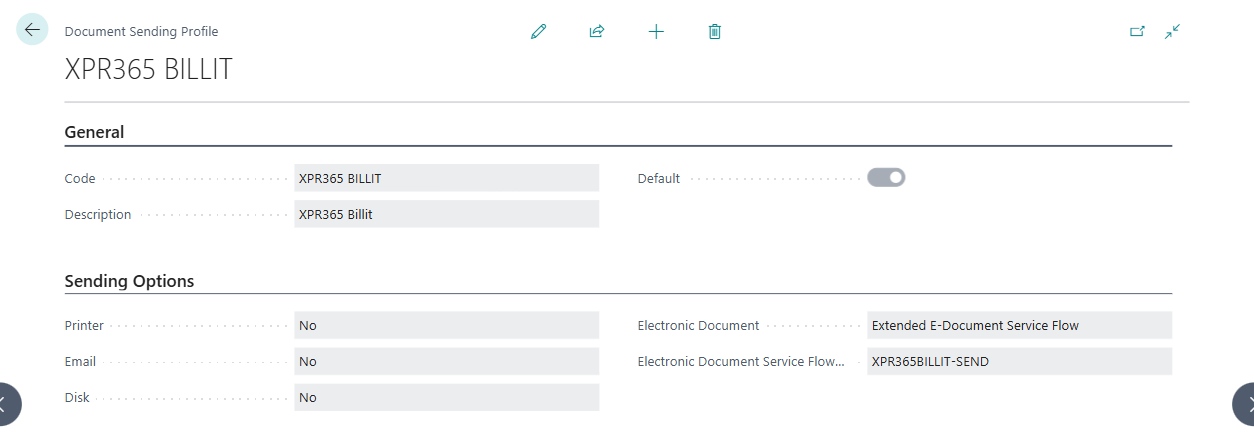
To set up a document sending profile
You need to set up a preferred method of sending sales/service documents for each customer. On the Document Sending Profiles page, you can set up sending profiles and then select the one to use in the Document Sending Profile field on a customer card page. You can select the Default checkbox to specify that a document sending profile is the profile for all customers for which a profile isn't specified in the Document Sending Profile field.
However, to enable the new E-Document framework, you must configure the Document Sending Profile accordingly. To set up a document sending profile, follow these steps.
- Choose the icon, enter Document Sending Profile, and then choose the related link.
- On the Document Sending Profiles page, select New.
- On the General FastTab, fill in the required fields.
On the Sending Options FastTab fill in the fields as described in the following table.
Field Description Electronic Document Specify whether the document is sent as an e-document. Choose E-Document Workflow to use the E-Document framework. Electronic Document Service Flow Code Specify the e-document workflow that's used to send documents. This is XPR365BILLIT-SEND. This field is required when E-Document Workflow is selected and must be an enabled workflow.