 Financials
Use Power Automate to automatically import CODA files
You can use Coded Statement of Account (CODA) to automatically process electronic bank statements. In standard Business Central you can manually import CODA statements. xpr365 Finance makes it possible to automate the import of CODA statements using Power Automate. With Power Automate you can create cloud flows that performs one or more tasks automatically after it's triggered by an event. With this flow, files are retrieved from a SharePoint folder, are imported into Business Central and are moved to an archive in SharePoint.
To be able to automatically import CODA files, some settings need to be made in Power Automate.
Setting up this flow requires some basic knowledge of Power Automate. The flow is set up through the Power Automate Platform.
Specify an event to start the flow
First, select what event, or trigger starts your flow.
- Sign in to Power Automate.
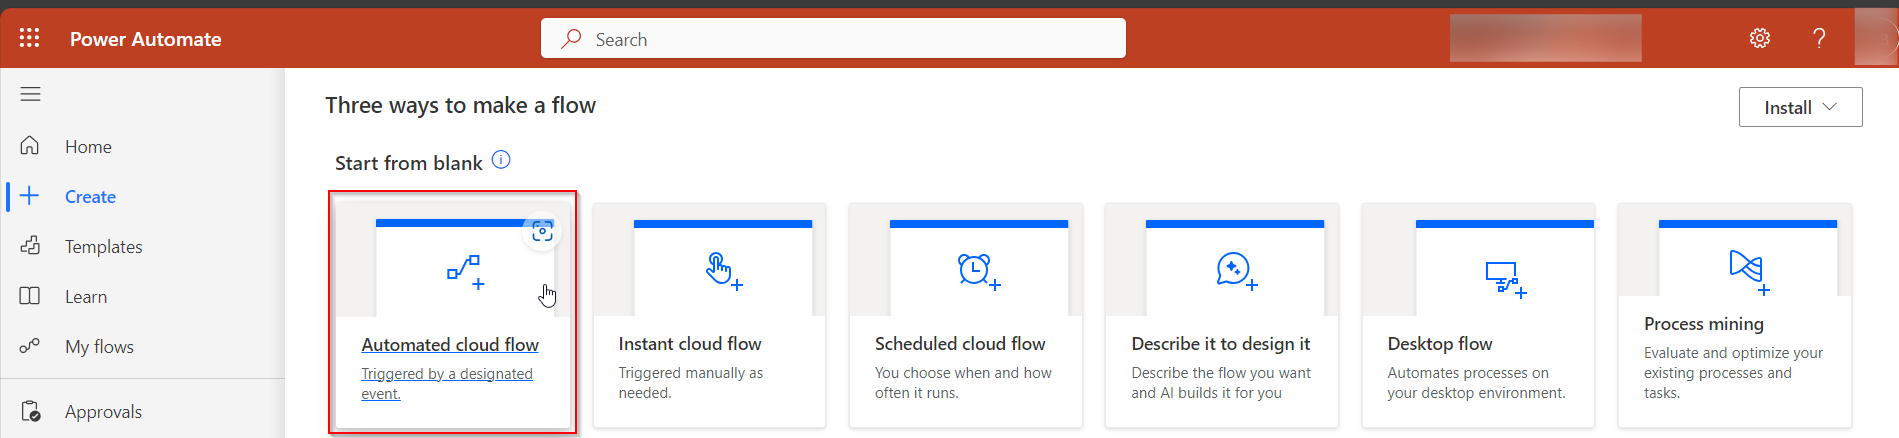
- Create a new flow.
- Select Automated Cloud Flow to start the Power Automate Flow.
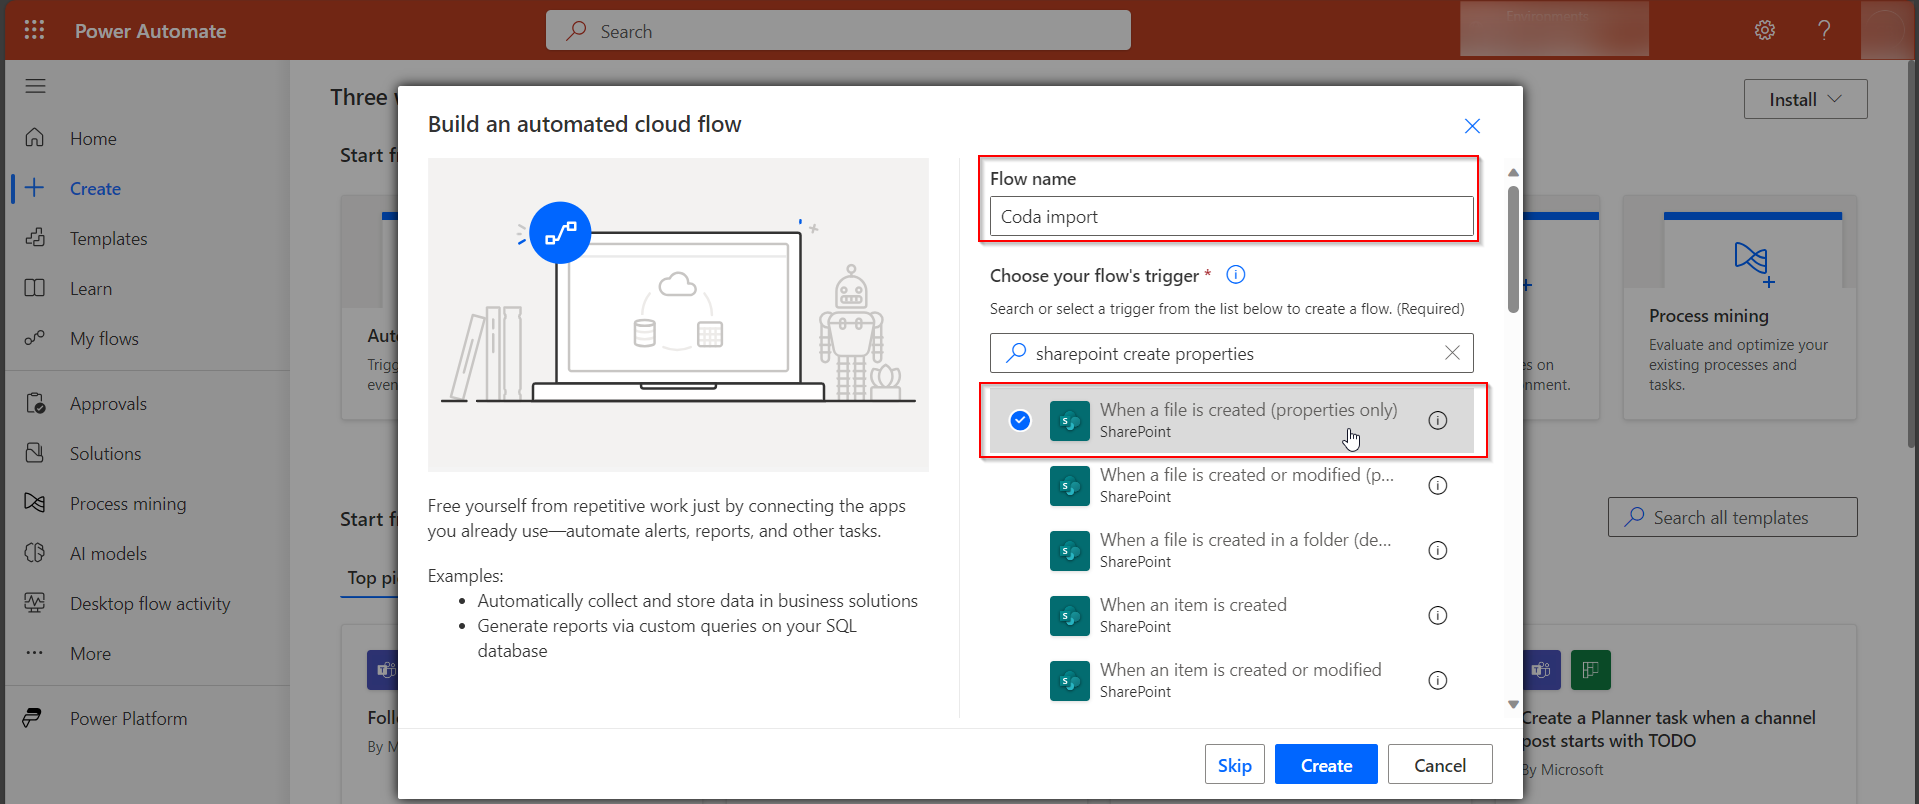
- Enter the flow name and select When a file is created (properties only) as flow trigger.
- Define the correct parameters.
It is important to define the correct folder under Advanced parameters. This is the SharePoint folder where the CODA files are located that need to be imported in Business Central.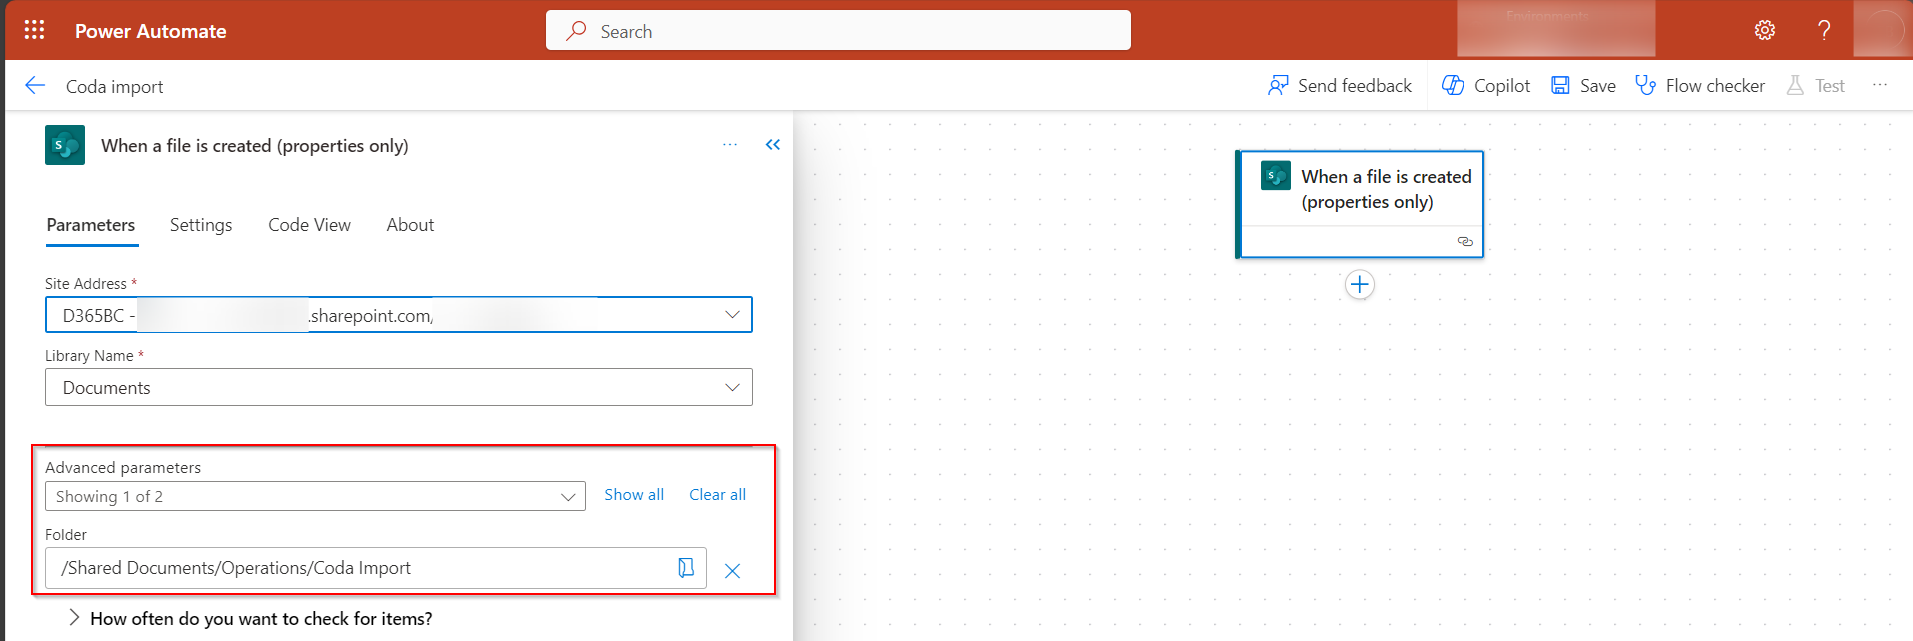
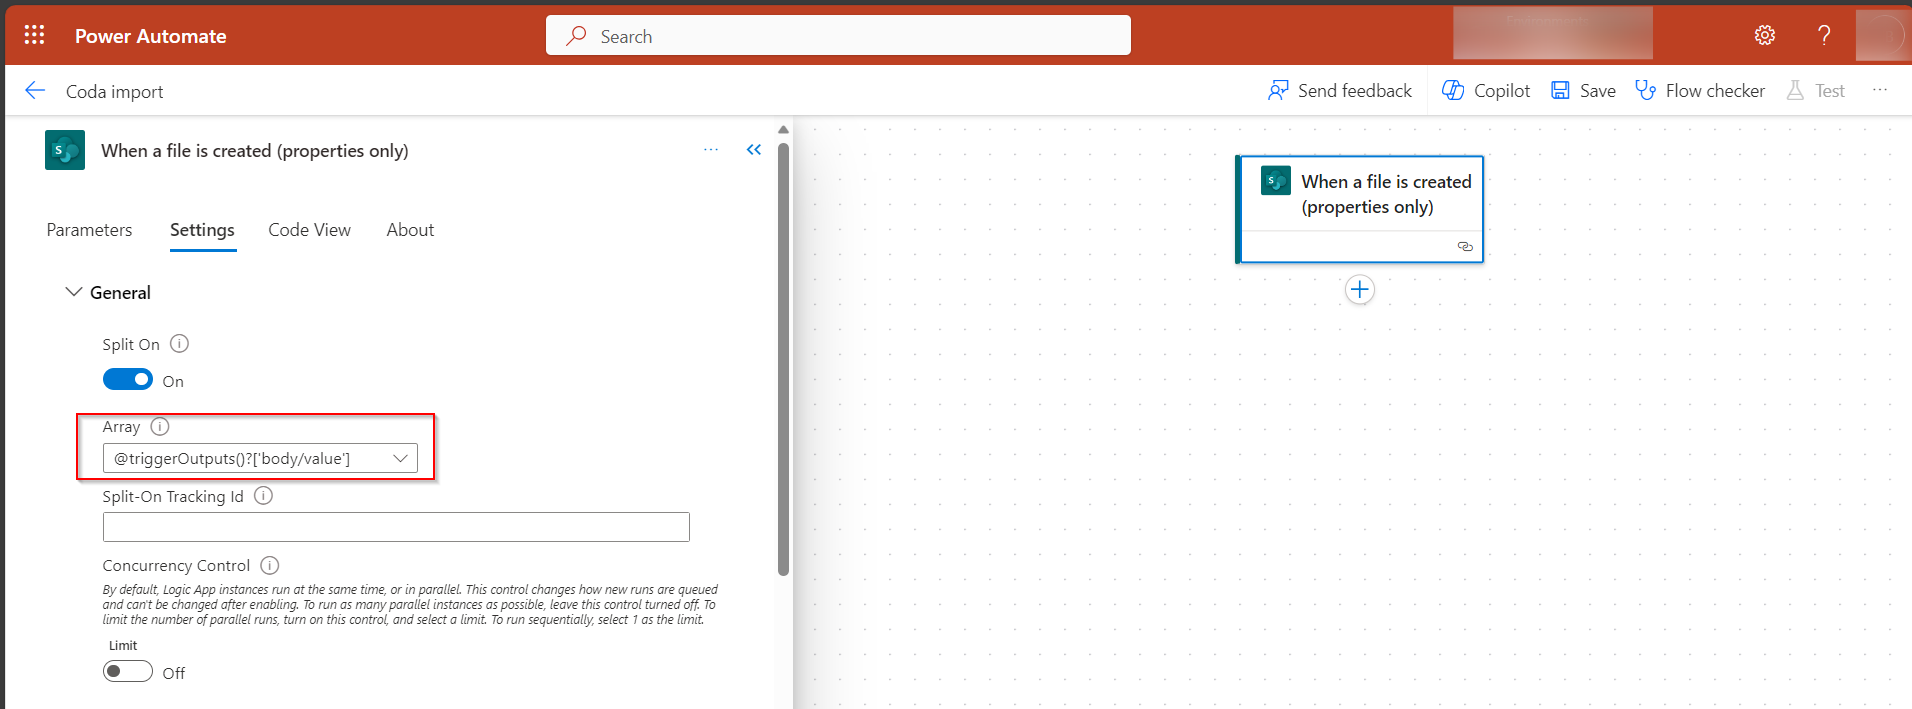
- Select the Split on checkbox and select @triggerOutput()?['body/value'] in the Array field.
Specify the action to get the file content
Create an action to get the file content.
- Insert a new step.
- In the box that shows, search for the Sharepoint action Get file content.
- Define the correct parameters.
Enter / in the File Identifier field, select Insert Dynamic Content and search for ID.
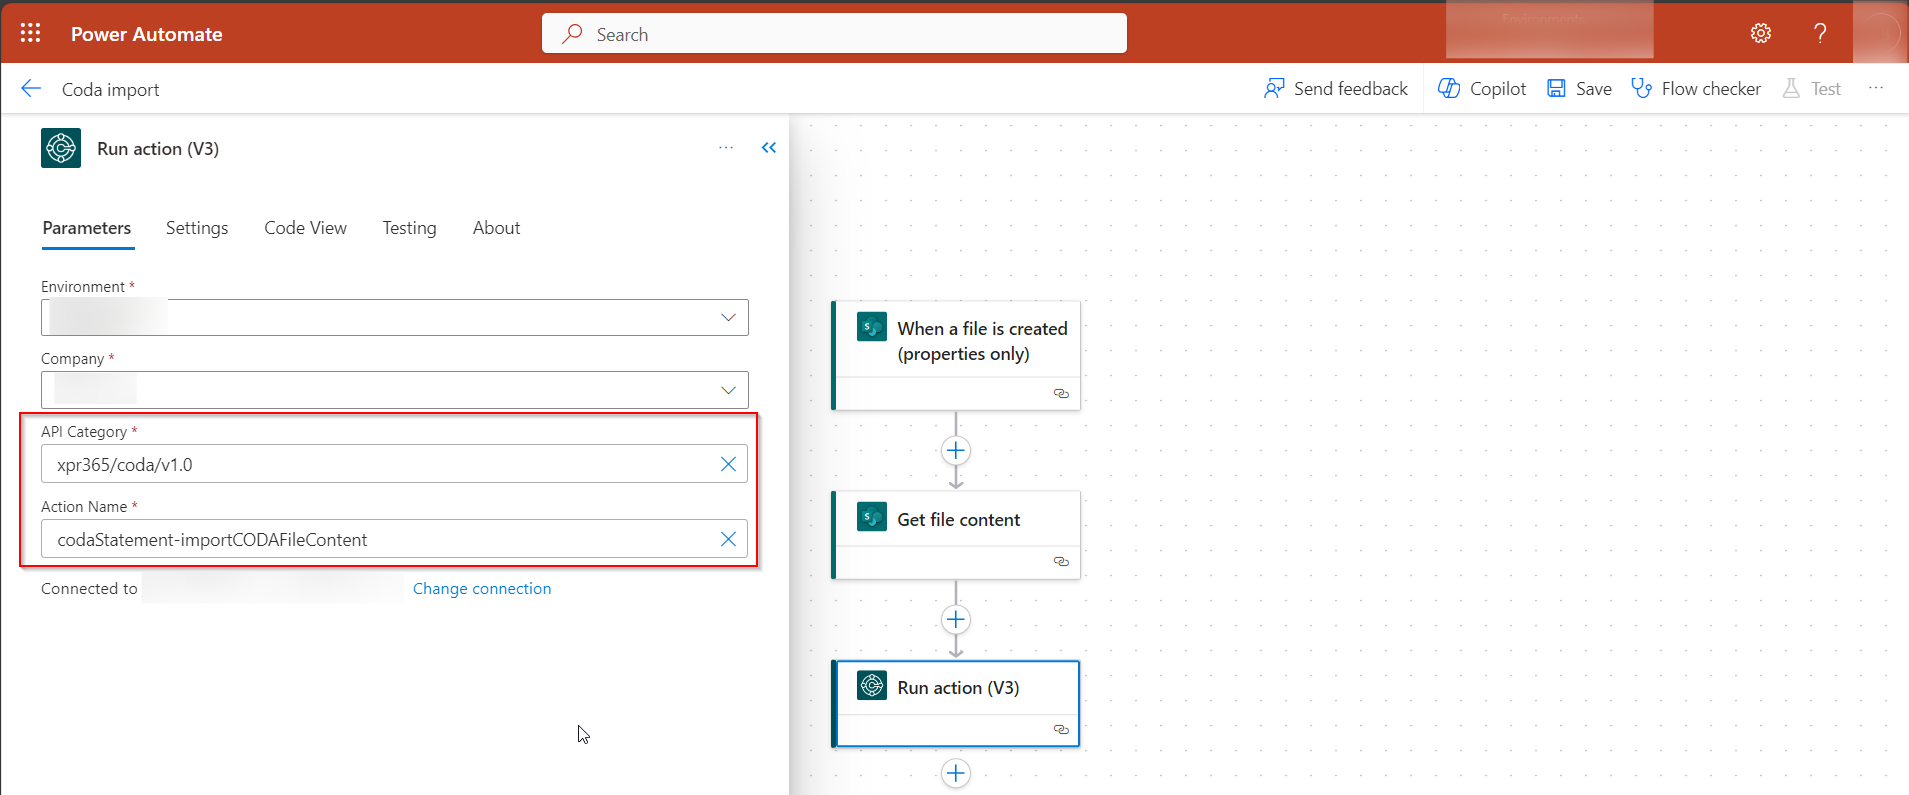
Specify the action to import the CODA file
Create an action to establish the connection with Business Central and specify what needs to be done with the file.
- Insert a new step.
- In the box that shows, search for the Dynamics 365 Business Central Run action (V3).
- In the Environment and the Company field, select in which environment and company you want to import the CODA files.
- In the API Category field, select the API xpr365/coda/v1.0 from xpr365 Financials.
- In the Action name field, select the action codaStatement-importCODAFileContent from xpr365 Financials.
Specify the action to move the file
The last step to be done in this flow is to create an action to move the CODA file to an archive.
- Insert a new step.
- In the box that shows, search for the Sharepoint action Move file.
- Define the correct parameters.
Take special care here that the destination folder does not refer to the same folder as the one where the file is retrieved in the first step. It is recommended to use an achive folder.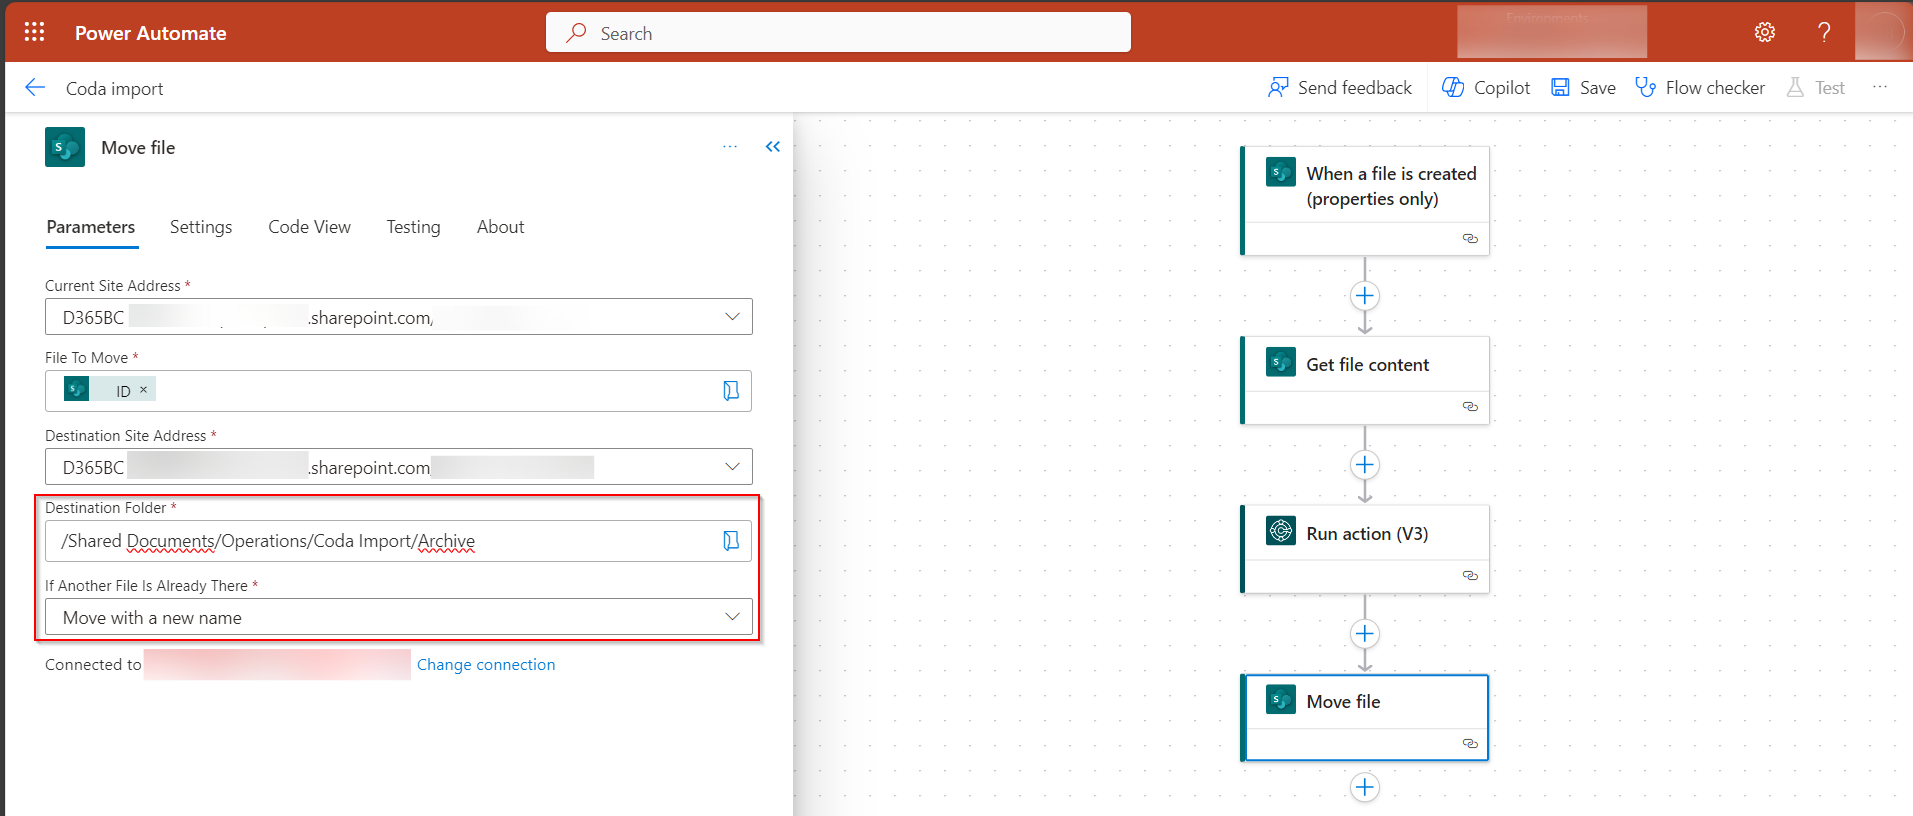
Test your flow
Put a file in the SharePoint folder, check if it is imported in Business Central en moved to the archive folder.