 Shopify Custom Connector
Create a Custom App in Shopify
Before Business Central can connect to your store, you create a custom app in the Shopify Dev Dashboard and install it in your store. The app gives you a client ID and a client secret, which you then enter in Business Central.
To create and install the custom app
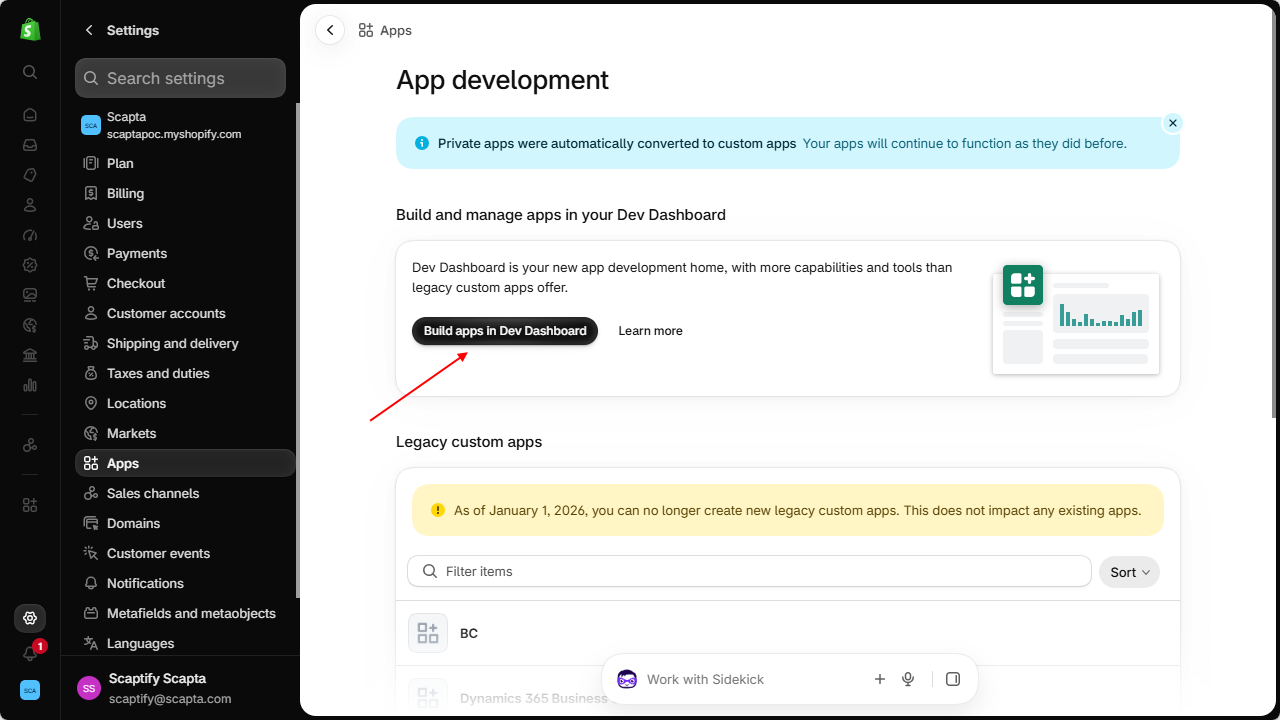
Sign in to the Shopify admin of your store, go to Settings > Apps, and choose Build apps in Dev Dashboard.
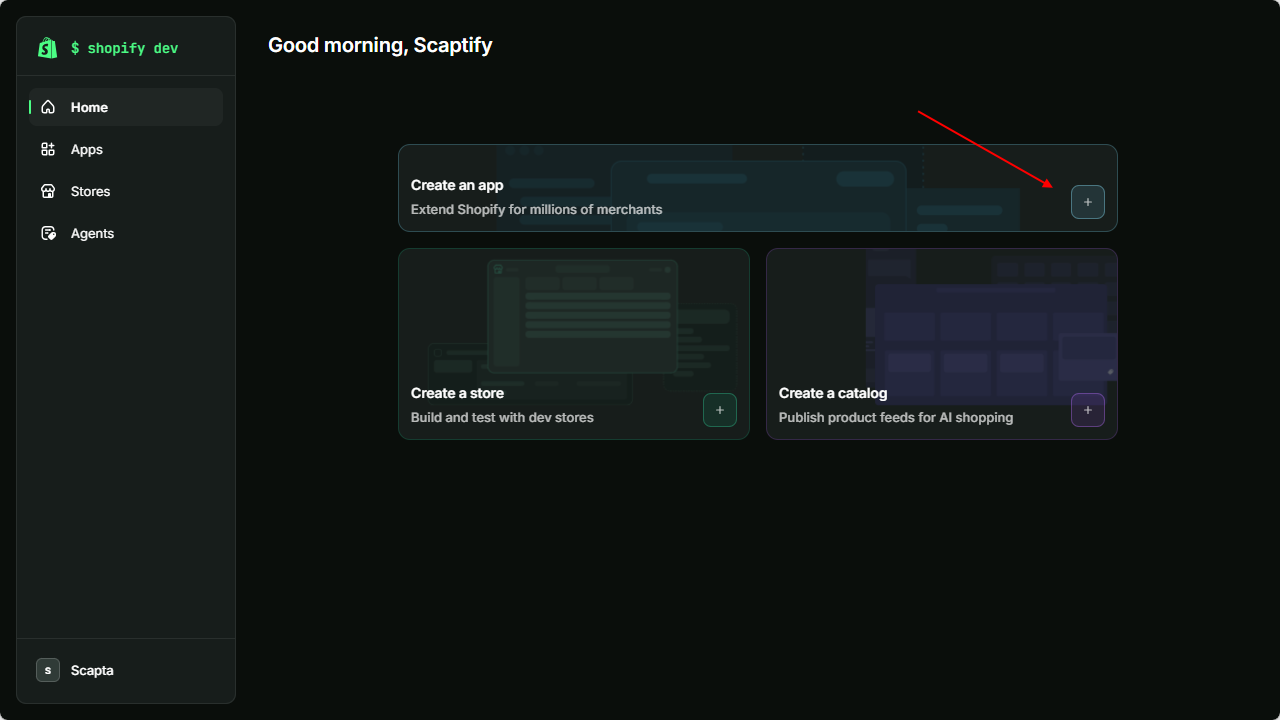
In the Dev Dashboard, choose the + button on the Create an app tile.
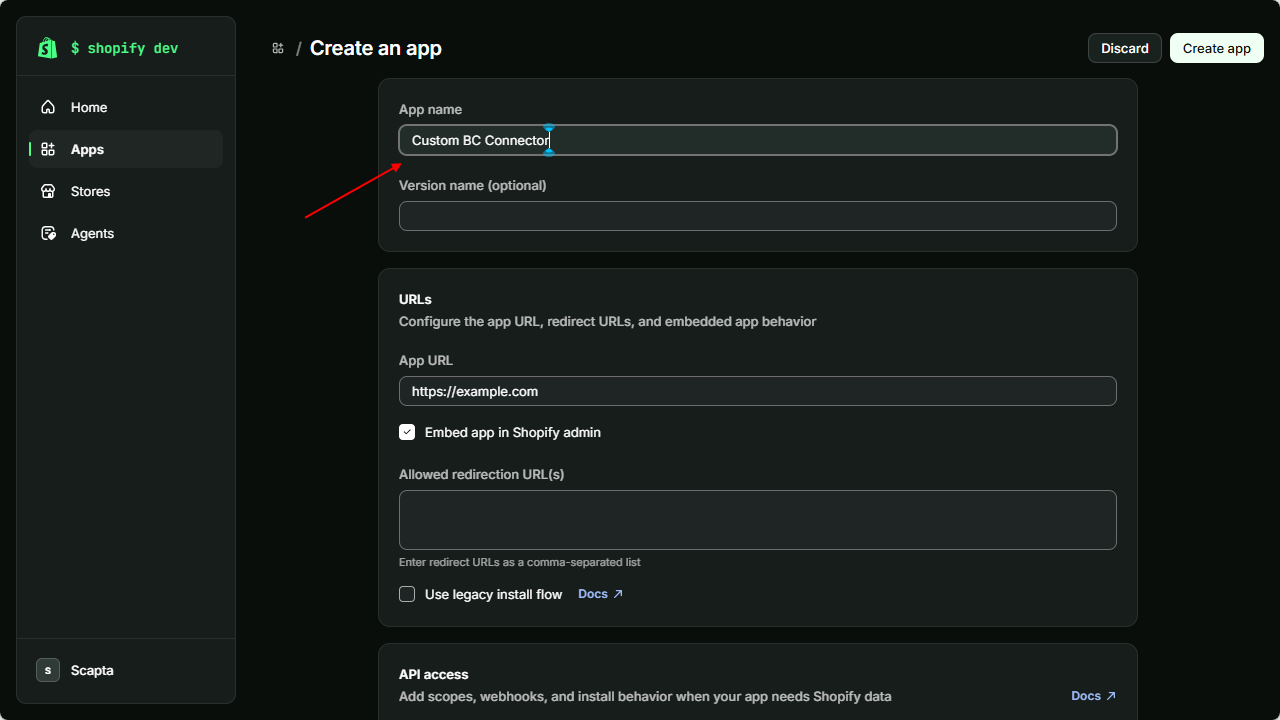
In the App name field, enter a name you recognize, for example Custom BC Connector. You will use the same name in Business Central. You can leave the App URL at its default value.
Under API access, fill in the Scopes field as a comma-separated list, or choose Select from list. Add the scopes the XPR365 apps you use need, for example
write_customers,write_products. Then choose Create app, and in the Release version window, choose Release.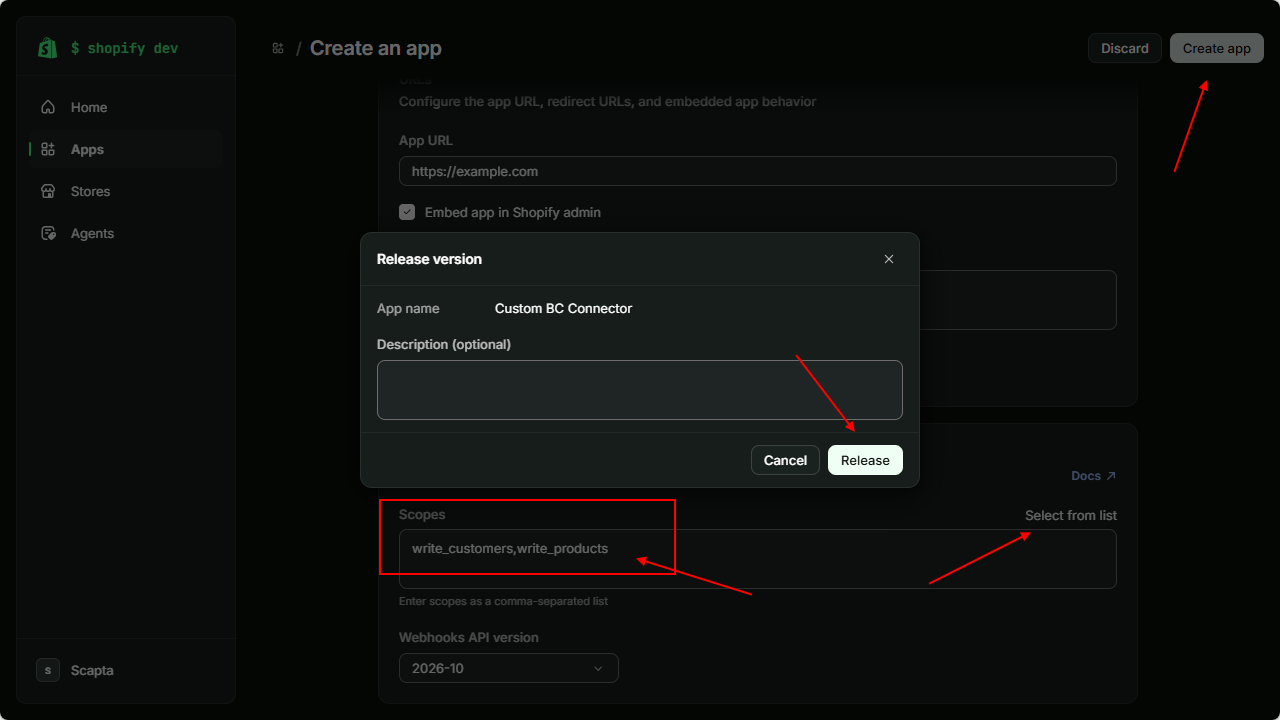
Tip
A
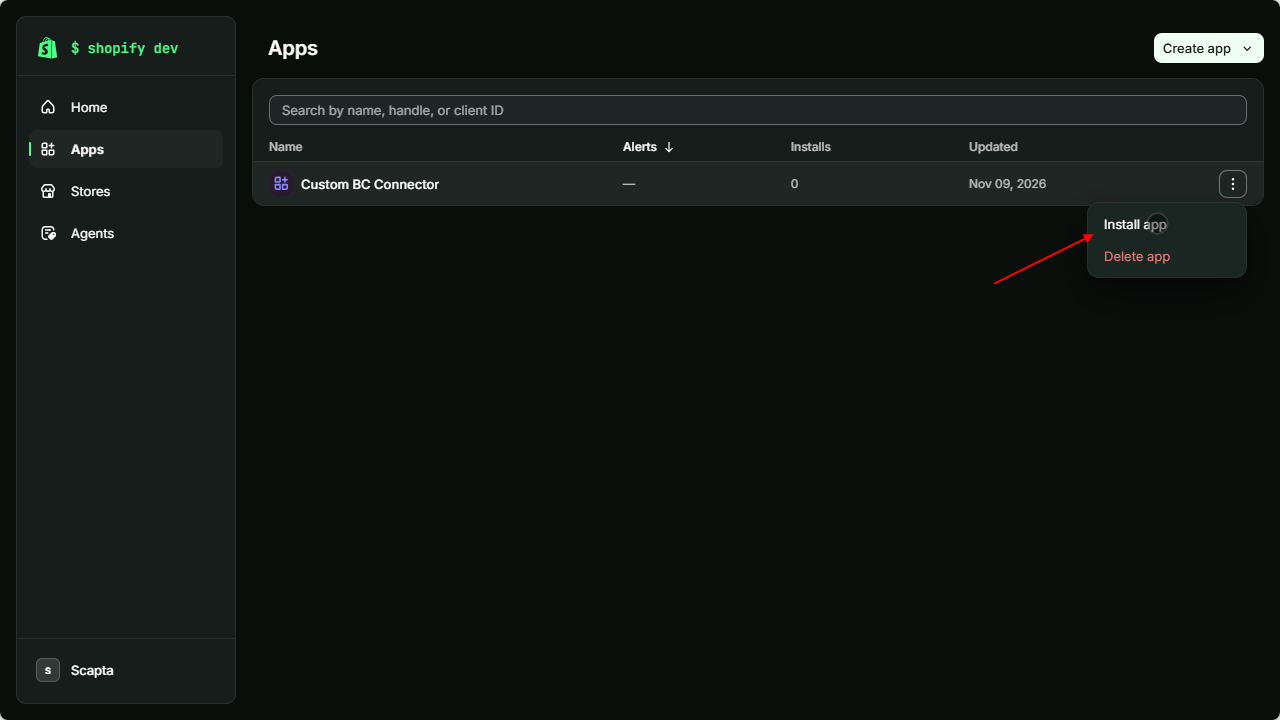
write_scope also includes the matchingread_scope. For example,write_productsalso allowsread_products.In the Apps list, choose the ⋮ button next to your app, and then choose Install app.
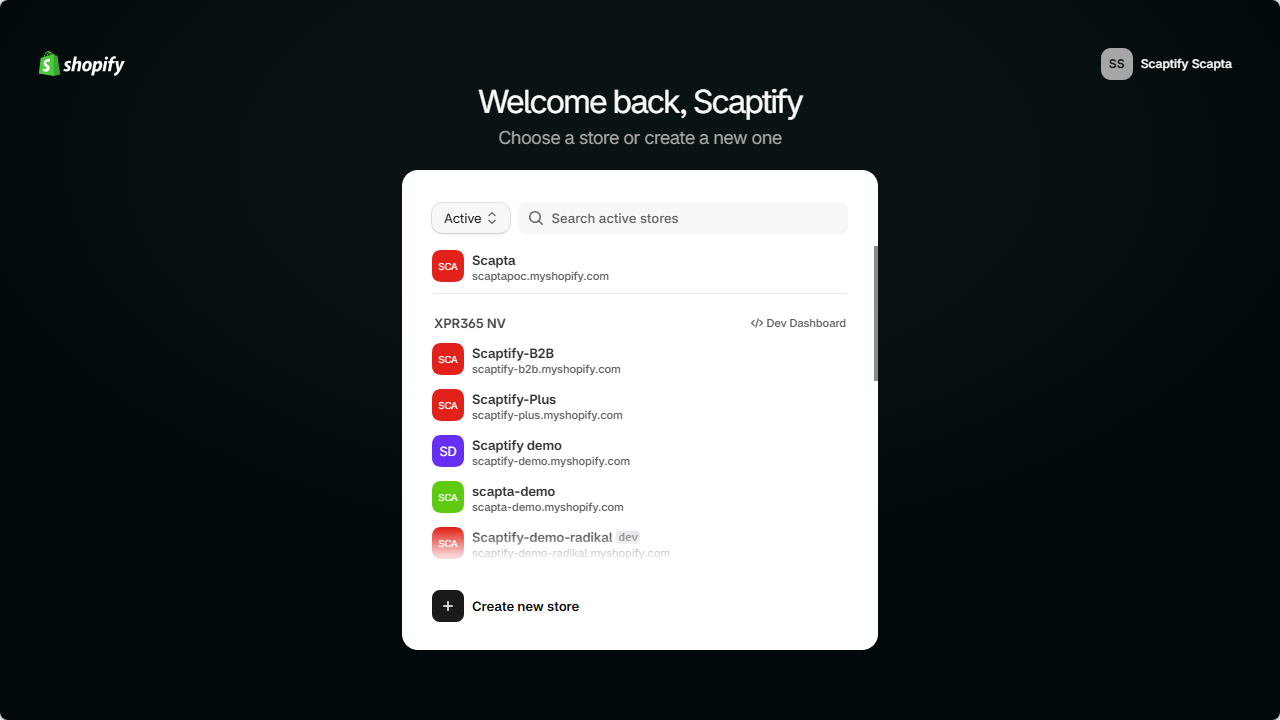
Select the store in which you want to install the app.
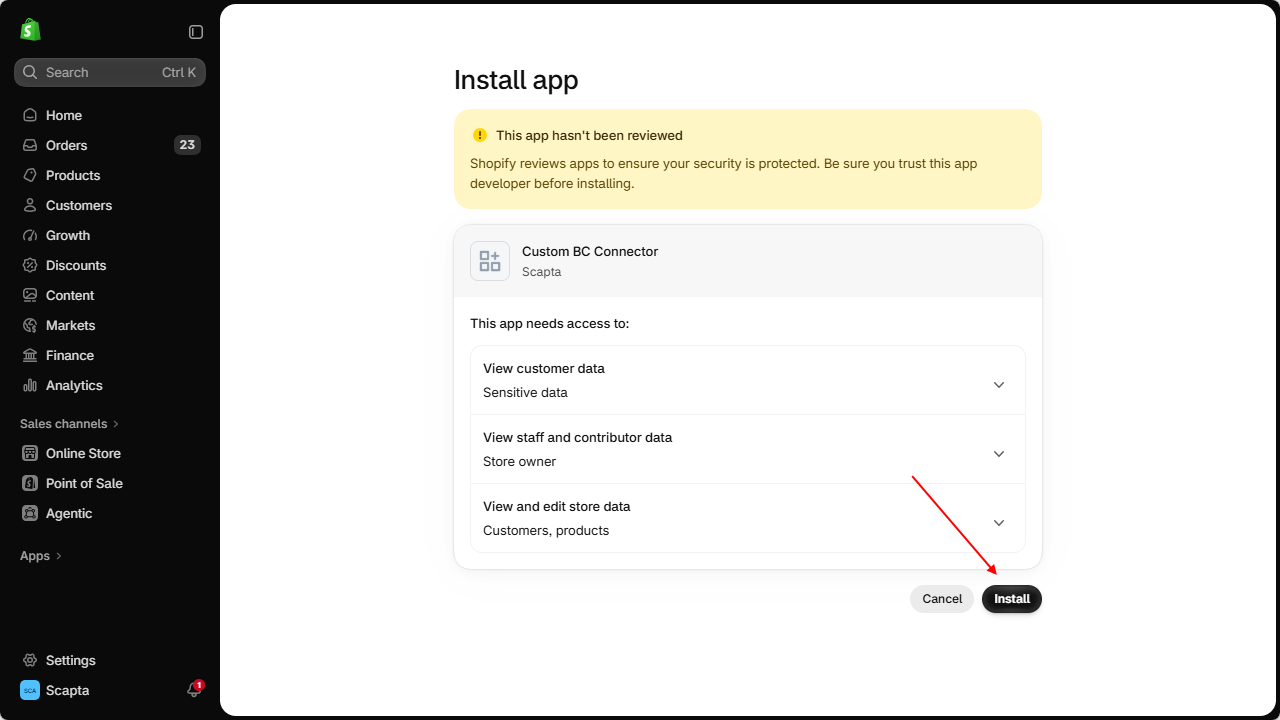
Check the access the app asks for, and choose Install.
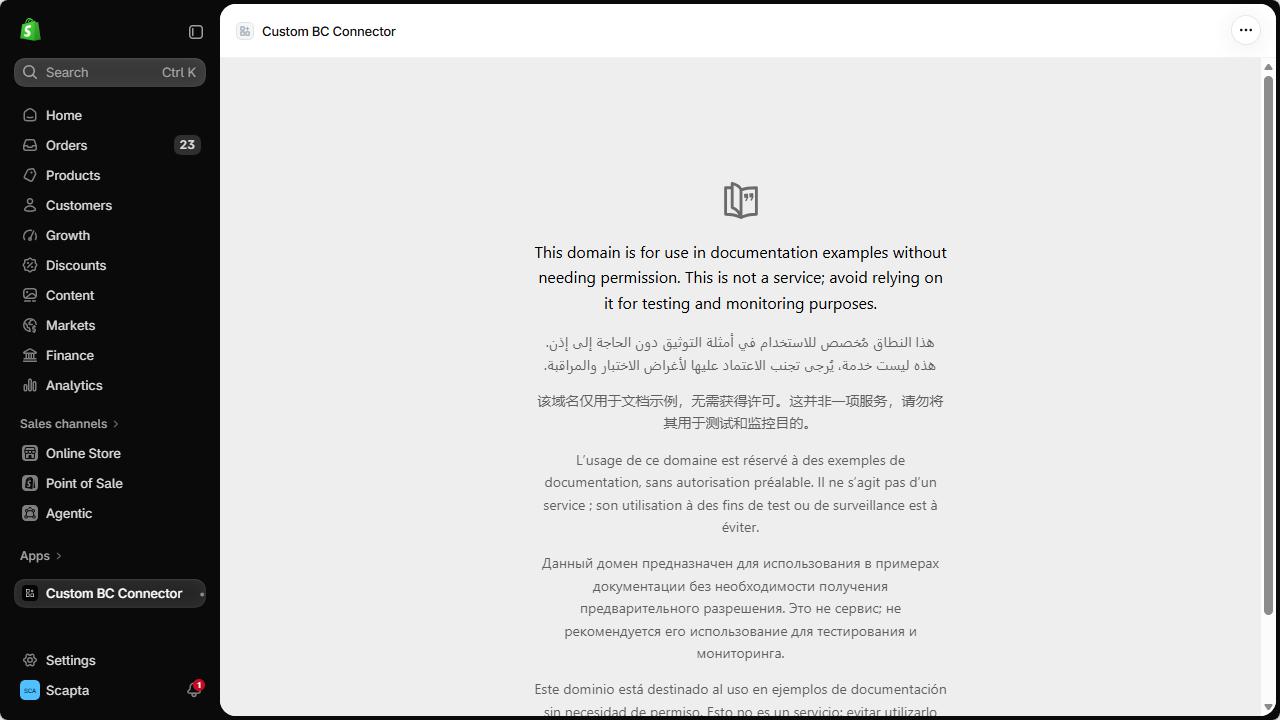
The app is now installed and appears under Apps in the Shopify admin of your store.
To copy the credentials of the app
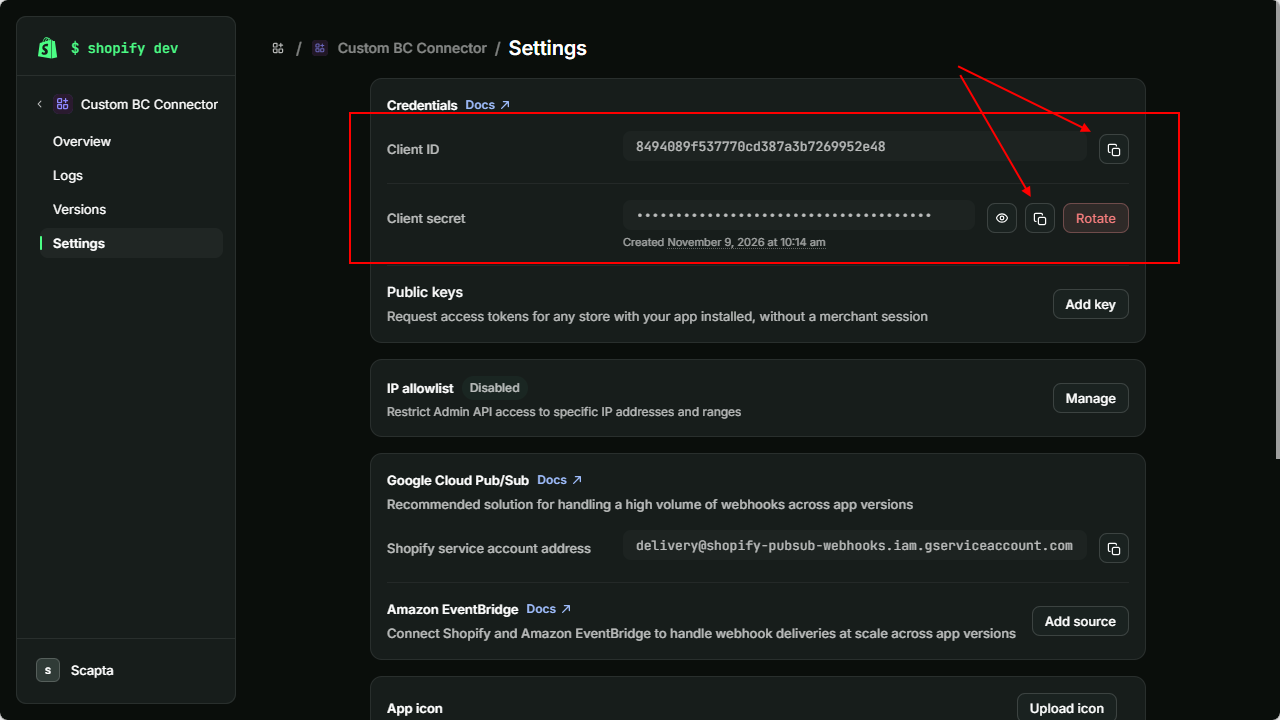
- In the Dev Dashboard, open your app and choose Settings.
In the Credentials section, copy the Client ID and the Client secret. You need both to set up the app in Business Central.
Important
Treat the client secret like a password and don't share it. If you choose Rotate to replace the client secret, enter the new secret in Business Central as well.
Note
When you change the scopes of the app later, release a new version of the app in the Dev Dashboard. Then choose Connect in Business Central to get the new access scopes.