Trengo
Set up Templates
Templates to use when sending a message, can be created in Business Central .
- Choose the
 icon, enter XPR365 Trengo Setup, and then choose the related link.
 - Choose the Templates action to go to the overview of the templates.
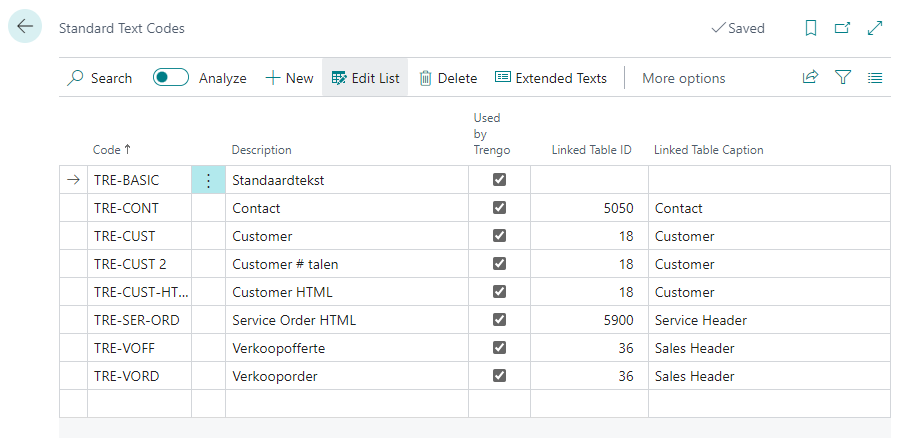
- Choose the action New to create a new Standard Text Code.
- Fill in the Code and Description fields.
- Select the Used by Trengo checkbox to indicate that the Standard Text is used by Trengo.
- Choose the Extended Texts action and add the extended text.
Set up Parameters
xpr365 Trengo makes it possible to work with parameters to personalize the messages.
- Choose the icon, enter XPR365 Trengo Setup, and then choose the related link.
- Choose the Templates action to go to the overview of the templates.
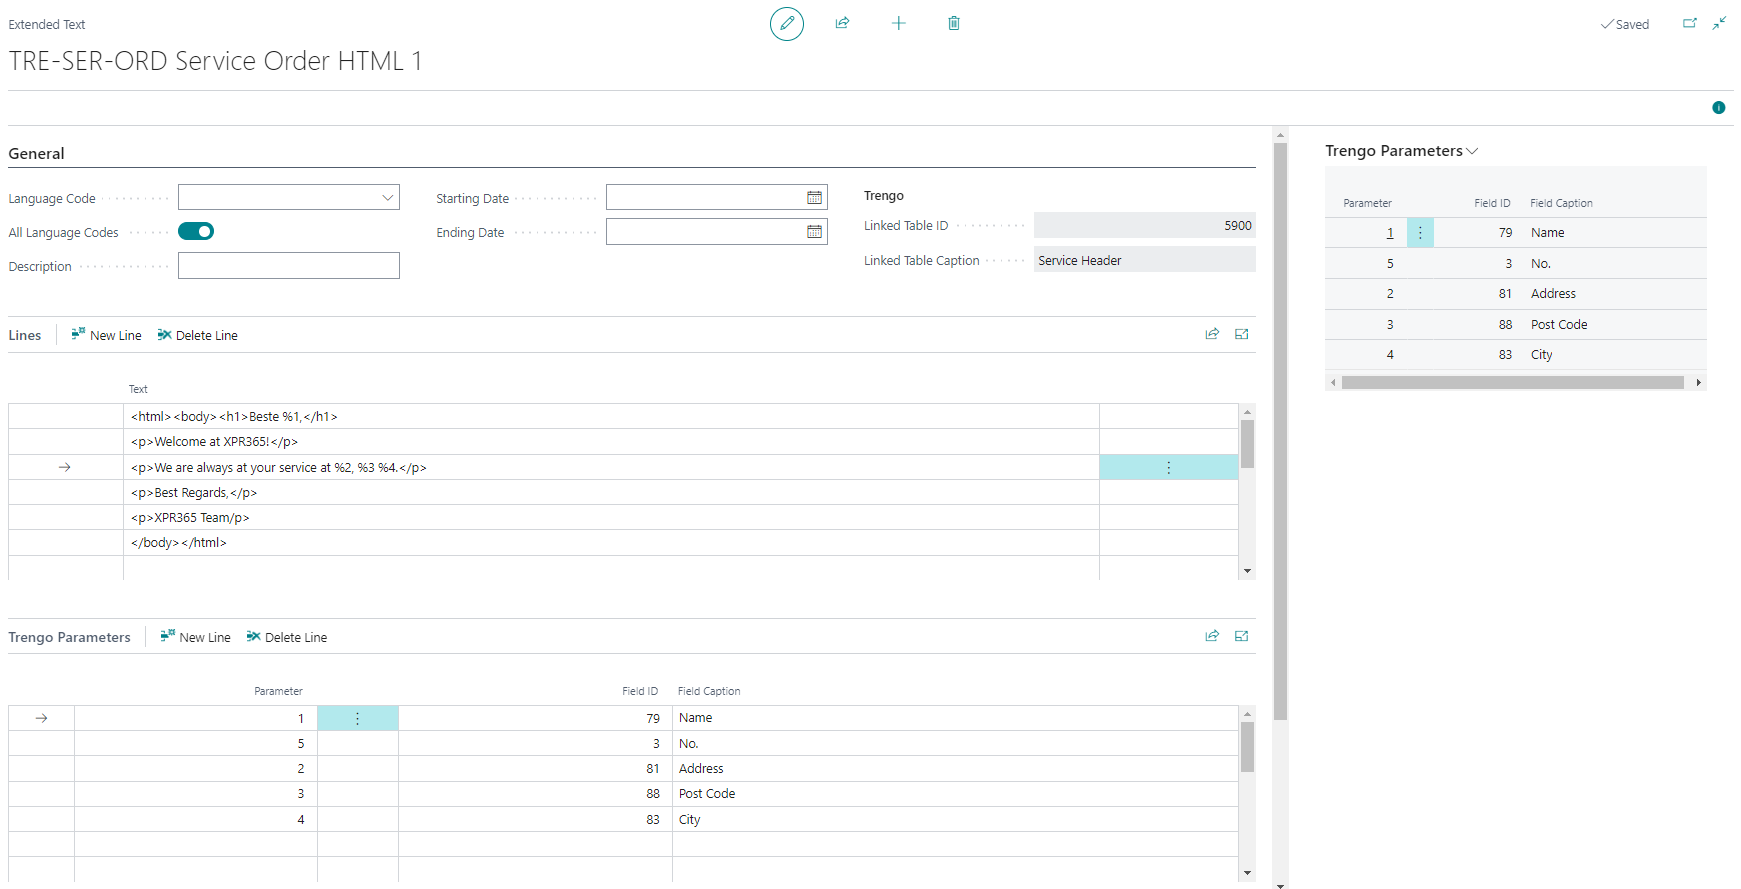
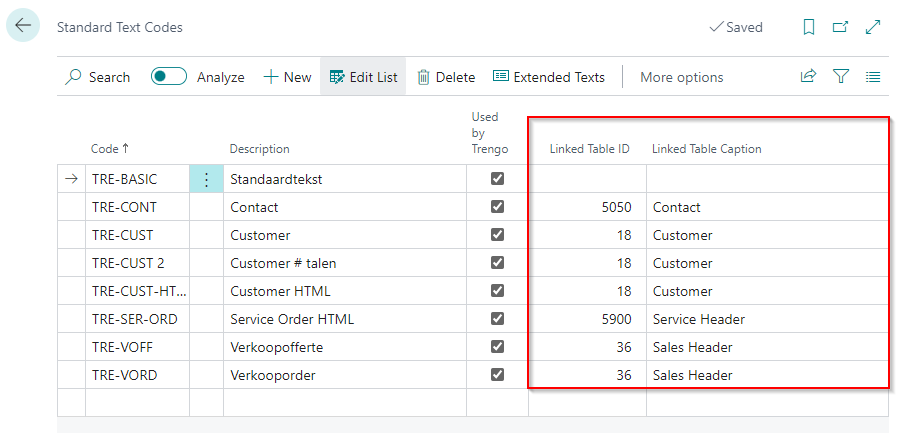
- In the Linked Table ID field, select the table whose fields you want to use in the message.
- Choose the Extended Texts action.
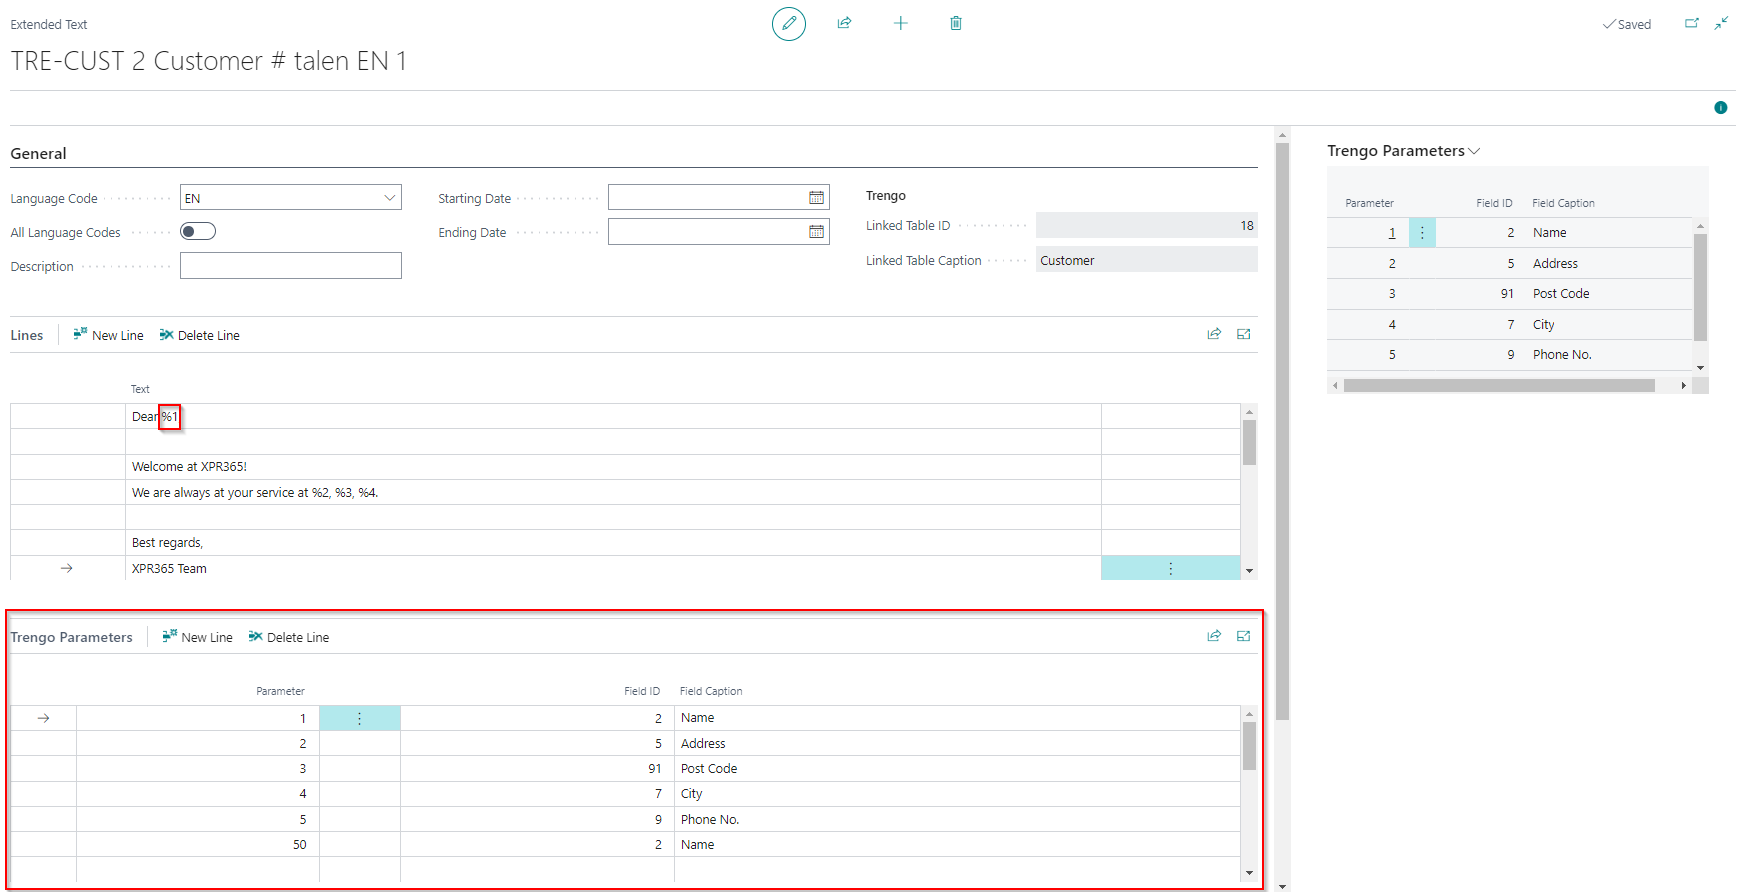
- In the Trengo Parameters tab, define the parameters you want to use in the message.
- Give the parameter a number.
- Select the desired field from the table that corresponds with the parameter.
To automatically insert the related values into the text, enter the percentage sign followed by the parameter.
E.g. %1 will be replaced by the Customer Name in this example.
Tip
The extended text is plain text. It is possible to enter the text in HTML so that they are formatted when, for example, an email is sent.